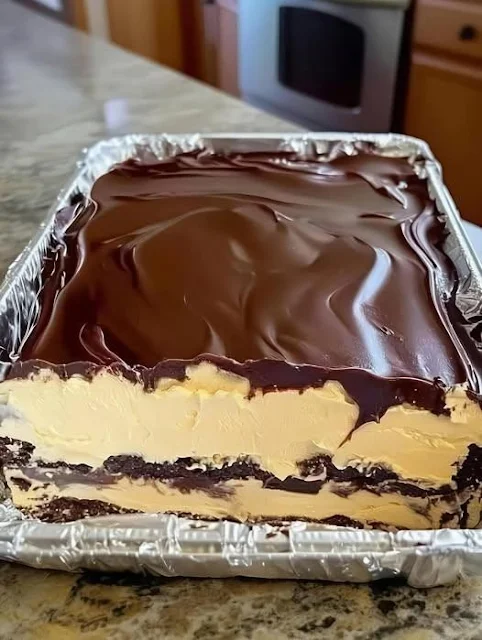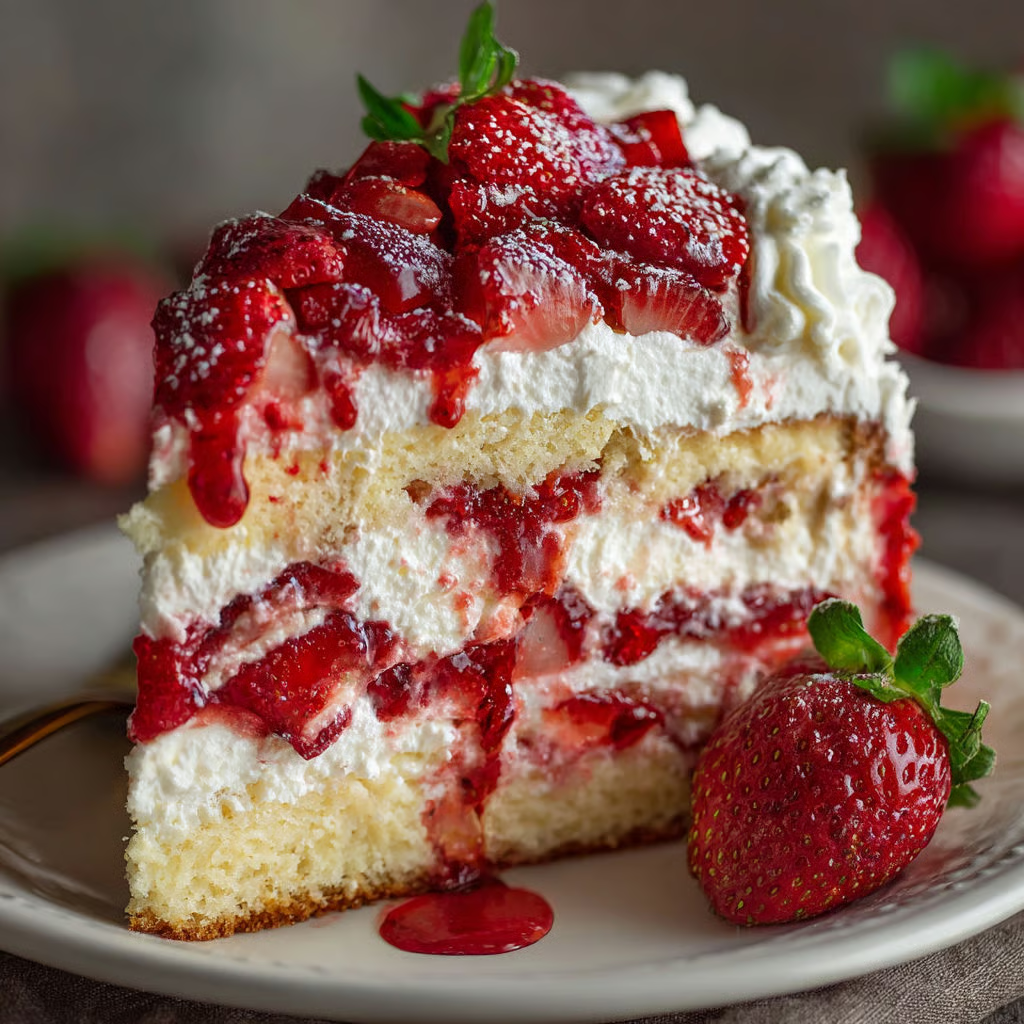
This stunning dessert marries the plush crumb of red velvet cake with the lightness of a no-bake cheesecake mousse and the brightness of double-processed strawberries. By layering fresh macerated berries and a cooked compote between the cake and cream, this recipe creates a multi-textural experience that is visually arresting and decadently flavorful. It is the ultimate centerpiece for celebrations, offering the elegance of a bakery-style torte with manageable home-kitchen steps.
Why You’ll Love This Recipe
- Texture Contrast – Combines soft cake, airy mousse-like filling, and juicy fruit for a complex mouthfeel in every bite.
- Make-Ahead Friendly – This cake actually improves with time as it requires a long chill, making it perfect for preparing the day before an event.
- Semi-Homemade Ease – Utilizes a boxed cake mix for a reliable, sturdy base, allowing you to focus your effort on the homemade fillings.
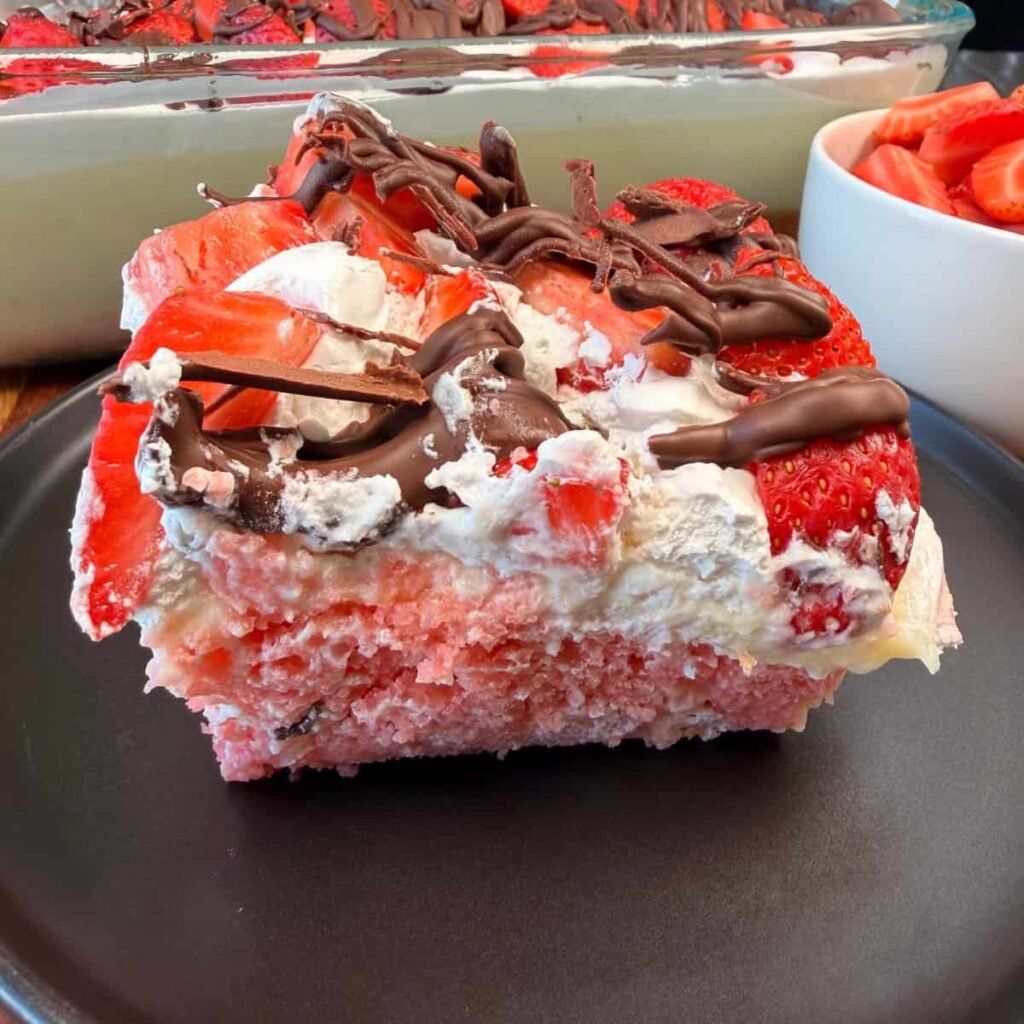
- Visual Showstopper – The vibrant red cake layers against the stark white cream and glossy berries create a dramatic, professional presentation.
- Balanced Sweetness – The tang of the cream cheese and fresh lemon juice cuts through the sweetness of the cake and sugar for a balanced profile.
- Versatile Serving – While elegant enough for a dinner party, the familiar flavors make it a hit with children and picky eaters alike.
Ingredients You’ll Need
Cake Layers
- 1 Box Red Velvet Cake Mix – Provides the structural foundation and signature cocoa-buttermilk flavor profile.
- Eggs, Oil, & Water – Required as per the box instructions to bind and hydrate the batter.
- 1 Teaspoon Vanilla Extract – Adds an extra layer of aromatic depth to the boxed mix.
No-Bake Cheesecake Filling
- 24 Ounces Cream Cheese – Softened to room temperature; ensures the filling is smooth and lump-free.
- 1 Cup Granulated Sugar – Sweetens the tangy cheese to create a dessert-appropriate flavor.
- 1 Tablespoon Lemon Juice – Brightens the heavy dairy and helps stabilize the cream cheese structure.
- 1 Teaspoon Vanilla Extract – Enhances the creamy flavor notes.
- 2 Cups Heavy Cream – Must be cold; whipped to create volume and aeration for a mousse-like consistency.
Strawberry Elements
- 4 Cups Fresh Strawberries (Total) – Divided; used for both the fresh layer and the cooked compote.
- 1/3 Cup + 2 Tablespoons Granulated Sugar – Divided; draws moisture out for maceration and sweetens the compote.
- 1 Tablespoon Cornstarch + 2 Tablespoons Water – Creates a slurry to thicken the compote into a stable, glossy sauce.
- 1 Tablespoon Lemon Juice – Adds acidity to the cooked fruit to enhance the berry flavor.
Step-by-Step Instructions
1. Bake the Cake Base
Preheat your oven according to the cake mix package instructions. Grease two 9-inch round cake pans and line the bottoms with parchment paper. Prepare the batter using the box ingredients and the vanilla extract. Divide evenly between pans and bake as directed. Cool in pans for 10 minutes, then invert onto a wire rack to cool completely. Once cold, use a serrated knife to level the tops flat.
2. Macerate the Fresh Layer
Slice 2 cups of strawberries and place them in a bowl. Toss with 2 tablespoons of sugar and let them sit at room temperature for 10 to 15 minutes. This draws out excess liquid, intensifying the flavor and preventing the cake from becoming soggy later.
3. Prepare the Strawberry Compote
In a small saucepan, combine the remaining diced strawberries (2 cups), 1/3 cup sugar, and lemon juice. Cook over medium heat for 5 minutes until soft. Stir in the cornstarch slurry and simmer for another 2 to 3 minutes until the mixture creates a thick, glossy jam-like consistency. Remove from heat and cool completely.
4. Whip the Cheesecake Mousse
In a large bowl, beat the softened cream cheese until perfectly smooth. Add the sugar, lemon juice, and vanilla, mixing until combined. In a separate cold bowl, beat the heavy cream until stiff peaks form. Gently fold the whipped cream into the cheese mixture in three batches to preserve the air bubbles, creating a light mousse texture. Keep chilled.
5. Begin Assembly
Place the first cake layer on a serving board or inside a springform pan (recommended for stability). Brush off any loose crumbs. Spread a thick layer (approx. 1/2 inch) of the cheesecake filling over the cake surface using an offset spatula.
6. Layer the Fruit
Arrange the macerated strawberry slices over the cream layer in an even, single layer. Next, gently spoon the cooled strawberry compote over the fresh slices, spreading it thin to avoid it spilling over the edges.
7. Seal the Middle
Spread a second layer of cheesecake filling carefully over the compote. This “seals” the fruit inside and provides a flat surface for the next cake layer.
8. Final Stacking and Topping
Place the second cake layer on top and press down very gently to secure the structure. Cover the top of the cake with the remaining cheesecake filling.
9. Chill and Set
Cover the cake (or the springform pan) and refrigerate for at least 4 hours, though overnight is best. This allows the gelatinous compounds in the fruit and the fat in the cream to firm up, fusing the layers together.
10. Garnish and Serve
Just before serving, garnish with extra fresh strawberries, piped whipped cream, or cream cheese frosting. Slice with a sharp knife dipped in hot water for clean cuts.
Recipe Notes & Tips
- Temperature Control – The cream cheese must be at room temperature to avoid lumps, while the heavy cream must be cold to whip properly.
- Stabilizing the Stack – Assembling this inside a springform pan or using an acetate collar will ensure the sides remain perfectly straight while the filling sets.
- Cool the Compote – Do not add the compote while warm; it will melt the cream cheese filling and cause the layers to slide apart.
- Folding Technique – When combining the whipped cream and cream cheese, use a “cut and fold” motion with a spatula. Vigorous stirring will deflate the cream, resulting in a runny filling.
- Maceration Check – Drain the macerated strawberries slightly before placing them on the cake to avoid introducing too much liquid to the filling.
Nutritional Information
- Prep Time: 45 minutes
- Cook Time: 30 minutes
- Total Time: 75 minutes (plus 4+ hours chilling)
- Servings: 14 slices
- Calories: Approximately 450-500 kcal per serving (Estimate based on rich dairy content)

Perfect Pairings
- Sparkling Wine – A glass of Prosecco or Brut Champagne cuts through the richness of the cream cheese.
- Dark Coffee – A robust dark roast or espresso balances the sweetness of the red velvet and strawberries.
- Dark Chocolate – Shaved dark chocolate on top adds a bitter element that complements the sweet fruit.
- Fresh Mint – A sprig of mint adds a pop of color and a refreshing herbal aroma to the heavy dessert.
Ideal Occasions
- Valentine’s Day – The red and white color palette makes this the quintessential romantic dessert.
- Summer Garden Parties – The cool, no-bake filling and fresh berries make it refreshing for warm weather.
- Birthday Celebrations – It offers the grandeur of a bakery cake with a flavor profile that appeals to most guests.
- Potlucks – Since it must be made ahead and kept in the pan/collar, it travels well and feeds a crowd.
Storage & Serving Tips
- Refrigeration is Key – Due to the fresh dairy and fruit, this cake must be kept refrigerated. It cannot sit out at room temperature for more than 30-60 minutes.
- Covering – Use a cake dome or plastic wrap tented with toothpicks to prevent the creamy top layer from absorbing fridge odors or drying out.
- Shelf Life – Best consumed within 3 days. After this, the moisture from the fruit may begin to make the bottom cake layer soggy.
- Freezing – While possible, freezing is not recommended as the fresh strawberries will release water upon thawing, potentially weeping into the filling.
Creative Variations to Try
- Chocolate Lover’s Dream – Swap the red velvet mix for a Devil’s Food cake mix and drizzle chocolate ganache between layers.
- Berry Medley – Use a mix of raspberries, blueberries, and strawberries for the fruit layers for a tart, complex profile.
- Lemon Twist – Increase the lemon juice in the filling to 3 tablespoons and add zest to the cake batter for a citrus-forward version.
- Trifle Format – If the cake breaks or you prefer individual portions, cube the cake and layer all ingredients in glass jars or a trifle bowl.
Troubleshooting Common Issues
- Runny Filling – Solution: The heavy cream wasn’t whipped to stiff peaks, or the mixture was over-mixed. Place in the freezer for 30 minutes to help set.
- Layers Sliding – Solution: The compote was too warm or liquid. Insert skewers into the assembled cake to hold it in place while it chills in the fridge.
- Soggy Cake – Solution: The macerated berries weren’t drained well enough. Next time, use a slotted spoon to transfer the fruit.
- Lumpy Cheese Texture – Solution: The cream cheese was too cold. If this happens, beat the cheese portion longer before adding the whipped cream.
Why This Recipe Works
This recipe succeeds by balancing structural integrity with mouthfeel. Red velvet cake is oil-based, meaning it stays moist even when chilled (unlike butter cakes, which can harden). The filling utilizes a technique similar to a mousse or a stabilized whipped cream: by folding aerated heavy cream into the dense cream cheese, you create a filling that is sturdy enough to hold up the top cake layer but light enough to melt on the tongue. The compote layer is thickened with cornstarch (gelatinization), ensuring the fruit flavor is concentrated without introducing free-flowing liquid that would compromise the cake’s structure.
Final Thoughts
The Strawberries and Cream Dream Layer is a testament to how a few extra steps can transform standard ingredients into a luxury experience. It requires patience—specifically during the cooling and chilling phases—but rewards you with clean, beautiful slices and a sophisticated flavor profile. It is a rich dessert, so slicing it thin allows the 14 servings to stretch, offering a guilt-free indulgence that feels lighter than traditional baked cheesecake.
Would you like me to create a “Homemade Red Velvet Cake” recipe from scratch to replace the box mix for this dessert?