
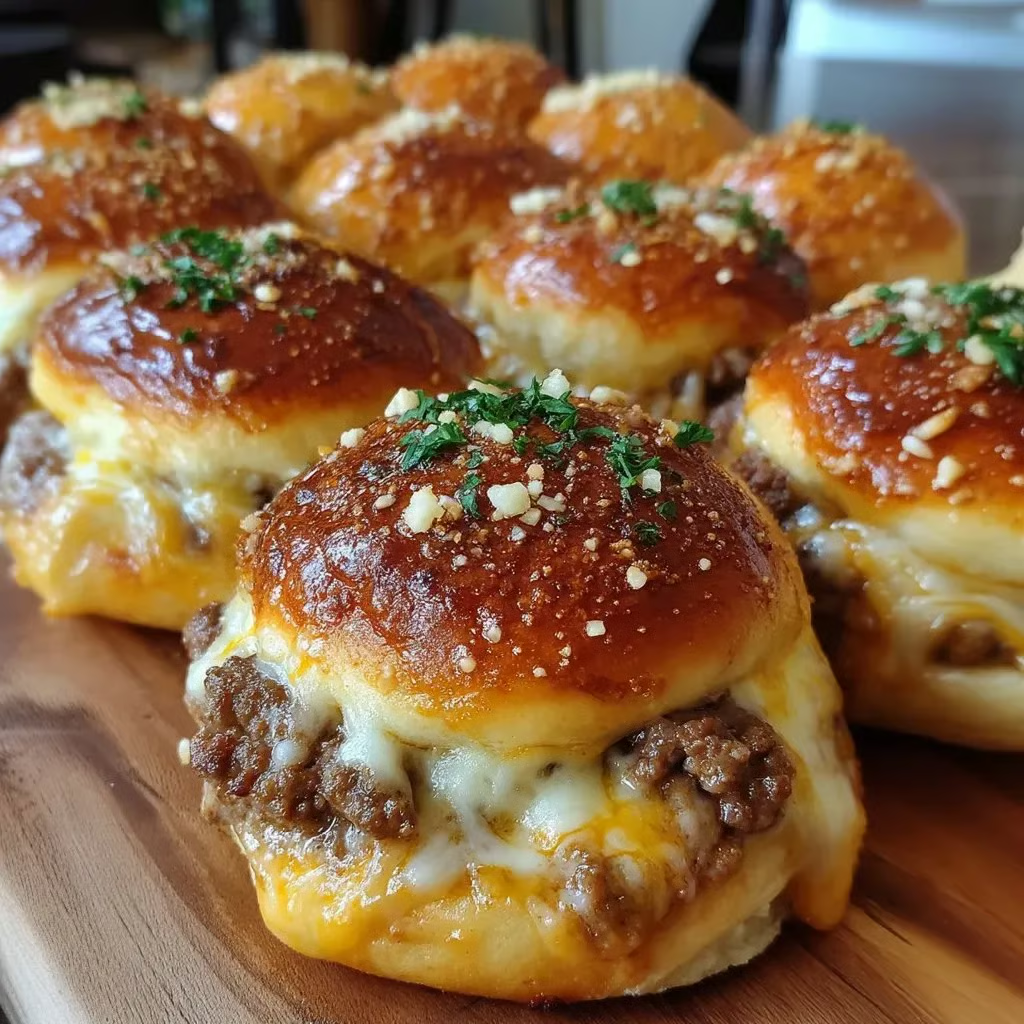
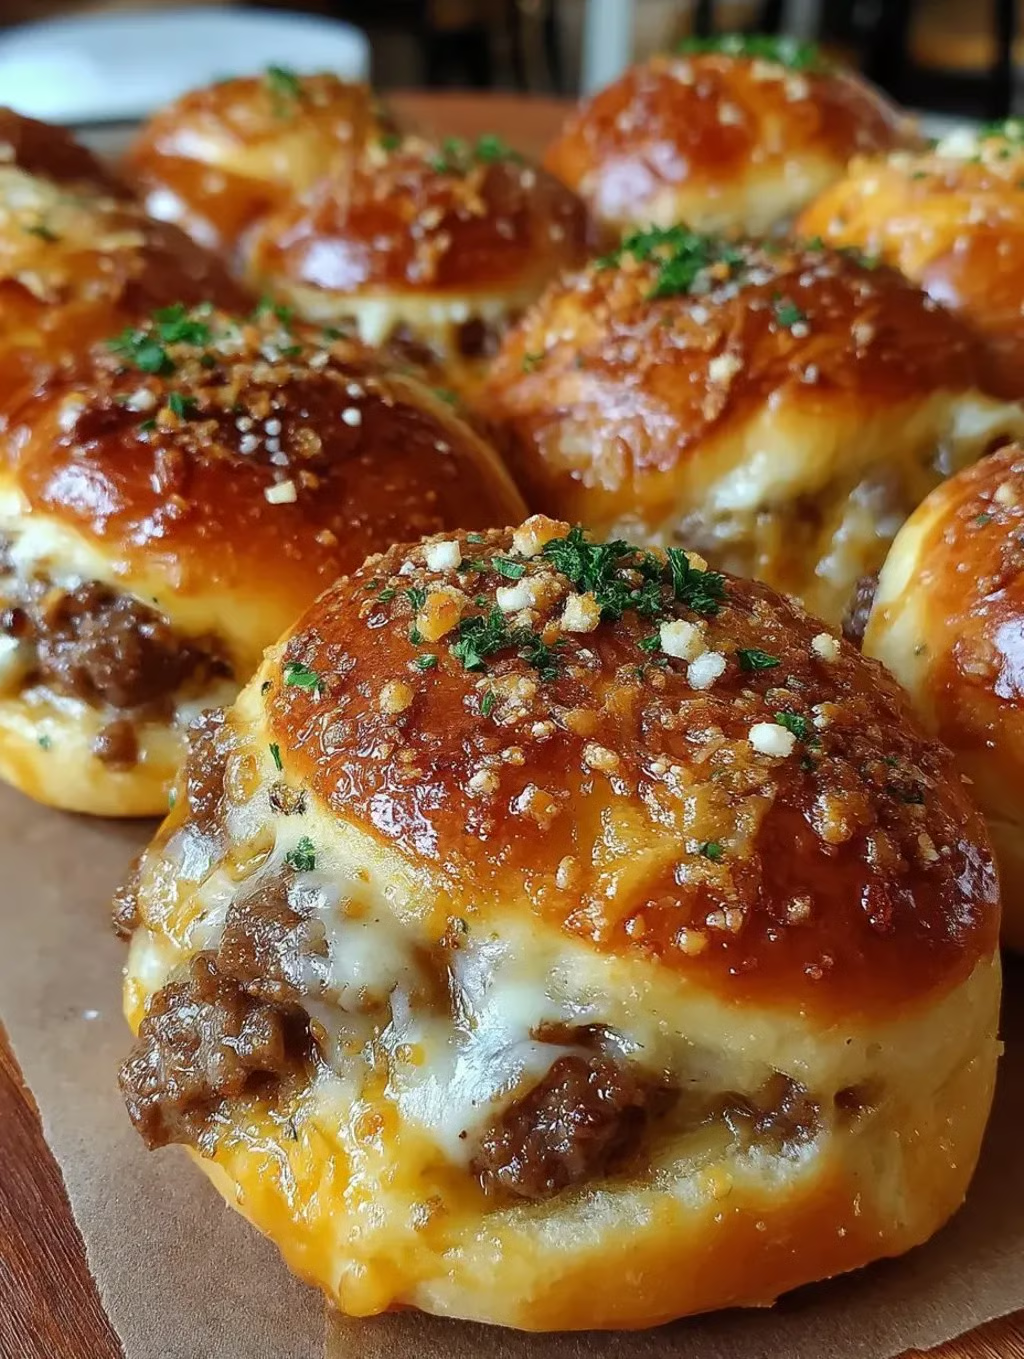
These Garlic Parmesan Cheeseburger Bombs are addictive handheld bites that wrap seasoned ground beef and melted cheese in flaky dough, then brush them with garlic butter and top with Parmesan for an irresistible combination of flavors. By encasing a savory cheeseburger filling in refrigerated biscuit or pizza dough and baking until golden, this recipe creates the perfect party appetizer or satisfying snack that delivers all the beloved elements of a cheeseburger in poppable, no-mess format. The result is crispy-on-the-outside, tender-on-the-inside dough bombs with juicy beef and gooey cheese centers, finished with aromatic garlic butter that makes them disappear the moment they hit the serving platter.
Why You’ll Love This Recipe
- Cheeseburger in Handheld Form – Delivers all the satisfying flavors of a classic cheeseburger—seasoned beef, melted cheese, and savory condiments—in convenient, portable format without messy toppings falling out.
- Perfect Party Appetizer – Creates impressive finger food that’s easy to eat while standing, mingling, or watching sports without requiring plates or utensils.
- Ready in 40 Minutes – From start to finish in less than an hour, these bombs provide crowd-pleasing results without extensive preparation or complicated techniques.
- Customizable Filling – Welcomes endless variations with different cheeses, add-ins like bacon or pickles, or completely different proteins to suit various tastes and dietary preferences.
- Make-Ahead Friendly – Can be assembled hours ahead and refrigerated until baking time, or even frozen for future use, making them ideal for entertaining or meal prep.
- Kid and Adult Approved – The familiar cheeseburger flavors appeal to children while the garlic Parmesan finish adds sophistication that adults appreciate.
Ingredients You’ll Need
For the Burger Filling:
- 1 pound ground beef (80/20 blend recommended) – Provides the protein foundation with enough fat for flavor and juicy texture
- Salt, pepper, garlic powder, and onion powder to taste – Essential seasonings that create classic burger flavor
- 1 tablespoon Worcestershire sauce – Adds umami depth and savory complexity that enhances the beef
- 1 cup shredded cheddar or mozzarella cheese – Creates the melty, gooey center; cheddar provides sharp flavor while mozzarella offers stretch
- Optional add-ins: cooked crispy bacon crumbles, diced pickles, or caramelized onions – Adds extra layers of flavor and texture
For the Dough Wrapping:
- 1 tube (16 ounces) refrigerated biscuit dough or pizza dough – Provides the flaky, golden exterior; each tube makes 8-12 bombs depending on desired size
For the Garlic Parmesan Topping:
- 2 tablespoons butter, melted – Creates the rich base for the aromatic finish
- 1 teaspoon minced fresh garlic or garlic powder – Adds aromatic, savory notes that define the topping
- 2 tablespoons freshly grated Parmesan cheese – Contributes nutty, salty flavor and creates appealing golden crust
- Chopped fresh parsley for garnish (optional) – Adds bright color and fresh herbal note
Step-by-Step Instructions
Cook and Season the Beef Heat a large skillet over medium heat and add the ground beef, breaking it into small crumbles with a wooden spoon or spatula. Cook for 8-10 minutes, stirring occasionally, until the meat is completely browned with no pink remaining. Drain off the excess grease by tilting the pan over a heat-safe container or using a slotted spoon to transfer meat to a paper towel-lined plate.
Season the Filling Return the drained beef to the skillet (off heat) and season generously with salt, black pepper, garlic powder, and onion powder—typically ½ teaspoon of each, adjusting to your taste. Stir in the Worcestershire sauce until evenly distributed. Transfer the seasoned beef to a clean bowl and let it cool completely to room temperature, which takes approximately 15-20 minutes. Once cooled, stir in the shredded cheese until well combined.
Prepare the Dough While the beef cools, open the tube of refrigerated biscuit or pizza dough according to package directions. If using biscuit dough, separate into individual biscuits; if using pizza dough, roll it out and cut into 8-12 equal circles using a biscuit cutter or drinking glass. Flatten each piece of dough with your hands or a rolling pin into circles approximately 4 inches in diameter and about ¼-inch thick.
Fill and Seal Place 1-2 tablespoons of the cooled burger and cheese filling in the center of each dough circle—don’t overfill, as this makes sealing difficult and can cause the bombs to burst during baking. Carefully bring the edges of the dough up and over the filling, pinching them together firmly at the top to create a complete seal with no gaps or holes. Gently roll each sealed bomb between your palms to create a smooth, round ball.
Arrange on Baking Sheet Place the sealed dough bombs seam-side down on a parchment-lined baking sheet, spacing them about 2 inches apart to allow for expansion during baking and even air circulation. Having the seam on the bottom helps prevent them from opening during baking.
Prepare Garlic Butter In a small bowl, combine the melted butter with minced garlic (or garlic powder), stirring until well mixed and the garlic is evenly distributed throughout the butter.
Brush and Top Using a pastry brush, generously brush the garlic butter over the top and sides of each dough bomb, ensuring complete coverage. Sprinkle the freshly grated Parmesan cheese evenly over all the buttered bombs, pressing it gently so it adheres to the surface.
Bake Until Golden Preheat your oven to 375°F and bake the prepared bombs for 15-18 minutes, or until they’re deeply golden brown on top, the dough is cooked through completely (no longer doughy when one is broken open), and the cheese inside is melted. The bombs should feel firm when gently pressed and sound slightly hollow when tapped.
Finish and Garnish Remove the baking sheet from the oven and immediately brush the hot bombs with any remaining garlic butter, which will soak in beautifully while they’re still warm. If using, sprinkle chopped fresh parsley over the tops for color and fresh flavor.
Serve Hot Let the bombs cool for 2-3 minutes to allow the filling to set slightly and prevent burned mouths, then transfer to a serving platter. Serve warm with dipping sauces like ranch dressing, garlic aioli, spicy mayo, ketchup, or mustard.
Recipe Notes & Tips
- Complete Cooling Essential – The beef filling must be completely cool before assembling; hot filling melts the butter in the dough, making it sticky and difficult to seal properly.
- Proper Sealing Crucial – Pinch the seams very firmly and roll smooth; poorly sealed bombs will burst open during baking and leak filling, creating a mess.
- Don’t Overfill – Use 1-2 tablespoons of filling maximum per bomb; overfilling makes sealing impossible and causes bursting during baking as contents expand.
- Dough Type Flexibility – Biscuit dough creates flakier, more tender bombs, while pizza dough produces chewier, bread-like texture; both work beautifully.
- Fresh vs. Powdered Garlic – Fresh minced garlic provides more robust flavor, while garlic powder is convenient and creates more even distribution; both are acceptable.
- Make-Ahead Instructions – Assemble completely and refrigerate unbaked for up to 8 hours, or freeze on a baking sheet then transfer to bags for up to 2 months; bake from frozen, adding 5 extra minutes.
Nutritional Information
- Prep Time: 20 minutes (cooking beef, assembling bombs)
- Cook Time: 18 minutes (baking time)
- Total Time: 38 minutes (plus cooling time for beef)
- Servings: 6 servings (assuming 12 bombs, 2 per person)
- Calories: Approximately 285 per serving (2 bombs; varies based on exact ingredients and size)
Perfect Pairings
- Serve with classic dipping sauces like ranch dressing, garlic aioli, spicy sriracha mayo, honey mustard, or burger sauce for customization.
- Pair with crispy French fries, sweet potato fries, or tater tots for complete burger-joint experience in appetizer form.
- Complement with pickle spears, coleslaw, or simple green salad to add refreshing, tangy elements that balance the rich bombs.
- Accompany with cold beer, soda, or milkshakes for beverages that complete the classic burger meal feeling.
Ideal Occasions
- Perfect for game day parties, Super Bowl gatherings, or sports viewing when you need handheld food that’s easy to eat while watching and mingling.
- Excellent choice for teenage parties, casual gatherings, or family game nights when you want fun, familiar food that appeals to all ages.
- Ideal for potluck appetizers and covered dish events where you need impressive finger food that travels well and can be reheated if needed.
- Great option for after-school snacks, quick dinners, or meal prep when you want substantial, satisfying food that reheats beautifully throughout the week.
Storage & Serving Tips
- Store leftover baked bombs in an airtight container in the refrigerator for up to 3 days; reheat in a 350°F oven or air fryer for 5-8 minutes to restore crispness.
- Freeze baked and cooled bombs in freezer bags for up to 2 months; reheat from frozen in a 350°F oven for 12-15 minutes until heated through.
- For best texture, reheat in the oven or air fryer rather than microwave, which makes the dough soggy instead of crispy.
- These are best served warm when the cheese is still melty and gooey; if serving for a party, keep them warm in a low oven (200°F) for up to 30 minutes.
Creative Variations to Try
- Bacon Cheeseburger – Add 4-6 slices cooked, crumbled bacon to the beef filling and use cheddar cheese for classic bacon cheeseburger flavor.
- Pizza Bombs – Replace beef with cooked Italian sausage, use mozzarella cheese, and add mini pepperoni and Italian seasoning for pizza-inspired variation.
- Breakfast Bombs – Fill with scrambled eggs, cooked breakfast sausage, and cheddar cheese for morning-appropriate version.
- Jalapeño Popper Style – Mix cream cheese with the beef filling and add diced jalapeños for spicy, creamy variation with pepper bite.
Troubleshooting Common Issues
- Bombs bursting open – Filling was too hot, overfilled, or seams weren’t pinched tightly enough; ensure cool filling, moderate portions, and very firm sealing.
- Dough undercooked inside – Oven temperature too low, bombs too large, or filling too cold from refrigerator; verify oven temp and let refrigerated bombs sit at room temperature 10 minutes before baking.
- Dry, tough exterior – Overbaked or not enough butter; don’t bake beyond golden brown and brush generously with garlic butter both before and after baking.
- Cheese leaking out – Seams weren’t sealed properly or dough tore during assembly; ensure gentle handling and complete sealing with no gaps or thin spots in dough.
Why This Recipe Works
These cheeseburger bombs succeed by adapting the beloved flavors of burgers into a format that’s more practical for appetizers and snacks while maintaining authentic taste. The ground beef provides familiar burger protein, while browning develops deep savory notes through the Maillard reaction. Worcestershire sauce adds concentrated umami that enhances meatiness, while the powdered seasonings create even distribution of garlic and onion flavors throughout every bite. Cooling the beef completely before adding cheese and assembling prevents the butter in the dough from melting prematurely, which would make the dough sticky and unworkable. The cheese mixed into the filling rather than layered separately ensures it distributes evenly and creates pockets of melty goodness throughout. Using refrigerated dough provides convenience without requiring pastry-making skills, and both biscuit and pizza dough work because both are designed to bake at similar temperatures and times. Sealing the bombs seam-side down utilizes gravity to keep them closed while baking, and the dough’s gluten development from kneading the seams together creates strong bonds. Baking at 375°F cooks the dough through while developing golden-brown color through caramelization and Maillard reactions. The garlic butter brushed both before and after baking adds aromatic flavor while creating glossy finish, and the Parmesan cheese topping browns slightly and adds nutty, salty notes that complement the beef. At approximately 285 calories for 2 bombs, these are moderate indulgences that provide good protein from beef and cheese with carbohydrates from dough—reasonable as snacks or appetizers when balanced with lighter foods, though the combination of beef, cheese, butter, and dough makes them special-occasion treats rather than everyday eating.
Final Thoughts
Garlic Parmesan Cheeseburger Bombs represent the kind of creative recipe development that takes familiar flavors people love and reimagines them in more convenient, party-friendly formats. The genius lies in the transformation—by encasing burger elements in dough and adding the sophisticated touch of garlic Parmesan butter, these bombs transcend basic burger bites to become something that feels both familiar and special. They’re particularly valuable for entertaining because they can be made ahead, require no special equipment or advanced skills, and appeal to virtually everyone from children to adults. While this version uses full-fat beef, regular cheese, and butter for maximum indulgence, those seeking lighter options could use ground turkey or chicken, reduced-fat cheese, and less butter, though such modifications would reduce the rich character that makes these bombs so crave-worthy. Whether you’re planning a game day spread, need impressive appetizers for a party, want fun dinner alternatives that kids will love, or simply appreciate handheld foods that pack maximum flavor into every bite, these cheeseburger bombs deliver on every promise—they’re easy enough for novice cooks, impressive enough for entertaining, customizable enough for various tastes, and genuinely delicious enough that you’ll find yourself making them repeatedly whenever you need crowd-pleasing food that disappears the moment it’s served.


